How to Install a Head on an Electric Motorcycle: A Detailed Guide
Understanding the correct methods and steps is crucial to ensure safety and optimize performance when installing the head on an electric motorcycle. This article provides a detailed guide on how to install the head on an electric motorcycle, helping you complete this task at home.
Preparations Before Installing the Head
-
Choose the Right Head: First, ensure that the head you choose is suitable for your electric motorcycle model. Different models of electric motorcycles may require different types of heads.
-
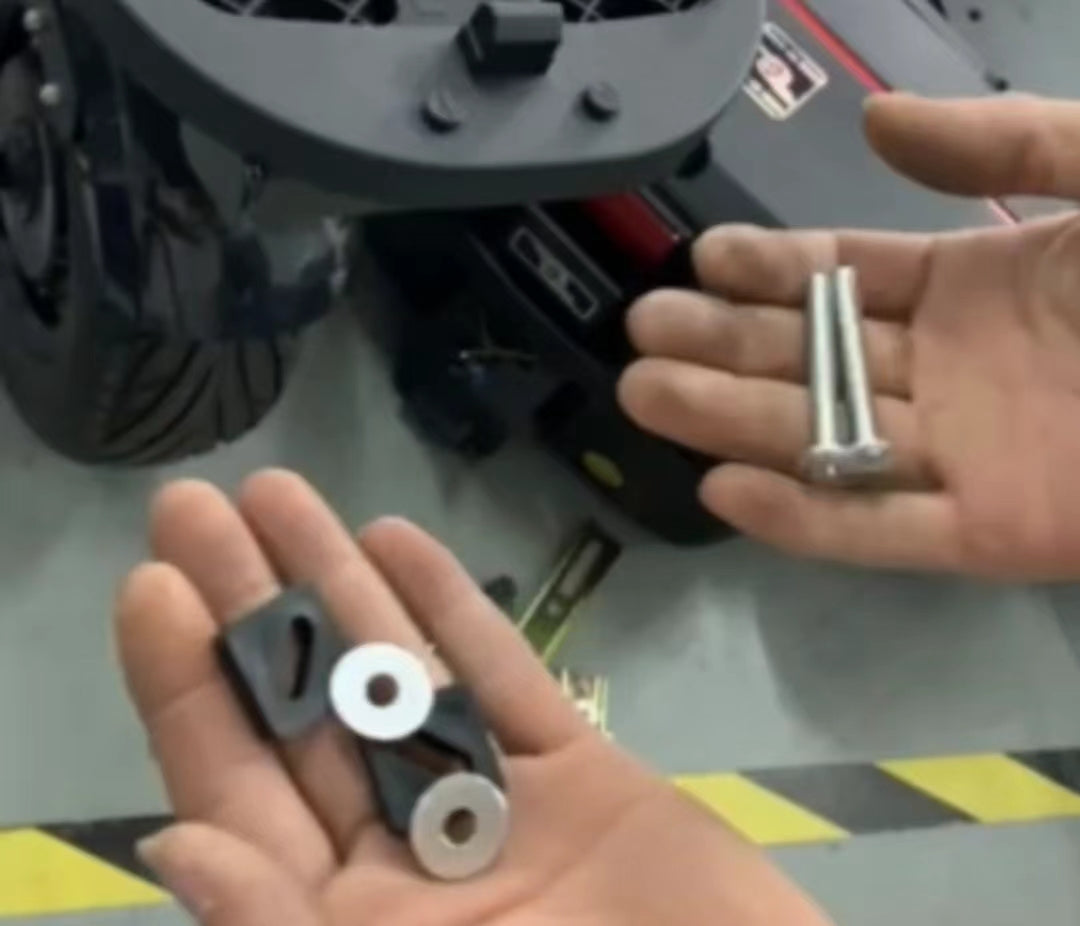
Prepare Tools: The tools typically needed for head installation include:
- Wrench
- Screwdriver
- Allen wrench
- Torque wrench
- Lubricating oil
-
Safety Measures: Before starting the installation, ensure that your electric motorcycle is securely fixed on a stand to prevent it from toppling over during the installation process.
Installation Steps
-
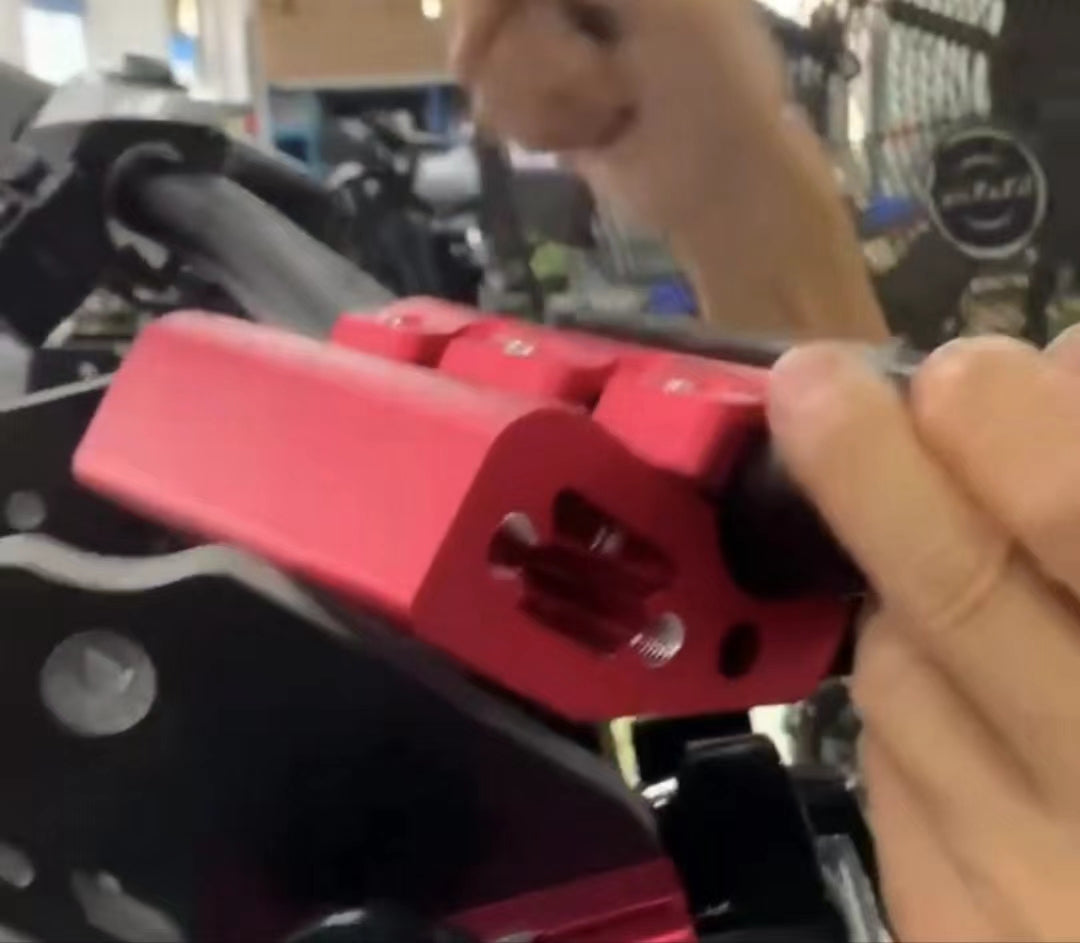
Install the New Head:
- Align the new head with the installation position, ensuring that all screw holes are aligned.
- Use an Allen wrench or wrench to install and tighten the bolts and screws. Make sure each bolt is tightened to the appropriate torque.
-
Connect Cables and Wires:
- Correctly connect the cables and wires on the head according to the wiring diagram of the electric motorcycle.
- Ensure all connection points are secure to prevent looseness.
-
Check and Adjust:
- After installation, start the electric motorcycle and check all functions of the head, such as lights and turn signals.
- Adjust the angle and position of the head to ensure it is in the best state during riding.
Maintenance After Installation
-
Regular Checks:
- Regularly check the fastening of the head to ensure no bolts or screws are loose.
- Regularly check the connection of cables and wires to prevent looseness and wear.
-
Cleaning and Maintenance:
- Regularly clean the head to prevent dust and dirt accumulation.
- Use appropriate lubricating oil to lubricate the steering shaft of the head, keeping it flexible.
Common Problems and Solutions
-
Head Looseness:
- Regularly check and tighten bolts and screws to prevent the head from becoming loose.
-
Poor Cable Connection:
- Check cable connections to ensure there are no loose or poor contact issues.
-
Headlight Not Working:
- Check if the bulb is damaged and if the cable connections are correct.
Conclusion
Although installing the head on an electric motorcycle may seem complicated, it can be smoothly completed by following the above steps. Proper installation and regular maintenance can ensure the safety and reliability of your electric motorcycle during use. If you encounter problems during the installation process, feel free to consult a professional or refer to the user manual of the electric motorcycle.
We hope this guide is helpful to you and wish you a successful installation and happy riding!
For high-quality electric motorcycle accessories, visit our online store. We offer a wide variety of reliable products to meet your various needs.

Leave a comment
All comments are moderated before being published.
This site is protected by hCaptcha and the hCaptcha Privacy Policy and Terms of Service apply.