A Comprehensive Guide to Installing a Tail Box on an Electric Motorcycle
In today's transportation landscape, electric motorcycles are becoming increasingly popular due to their eco-friendliness, efficiency, and cost-effectiveness. To enhance the utility of electric motorcycles, many riders choose to install a tail box. A tail box not only increases storage space but also makes riding more convenient. This article will provide a detailed guide on how to install a tail box on an electric motorcycle, along with some practical tips.
Choosing the Right Tail Box
Before starting the installation, it's essential to choose a tail box that suits your electric motorcycle. Here are some key factors to consider:
- Size and Capacity: Ensure the tail box size fits your electric motorcycle and meets your storage needs.
- Material: Tail boxes are generally made of plastic. Plastic tail boxes are lightweight and affordable.
- Waterproof Performance: Choose a tail box with good waterproof performance to ensure your items stay dry during rainy rides.
Installation Tools and Preparation
Before starting the installation, you need to prepare the following tools:
- Screwdriver
- Wrench
- Electric drill (if necessary)
- Mounting bracket (usually included with the tail box)
Additionally, ensure you have a flat working space and place your electric motorcycle in a stable position.
Installation Steps
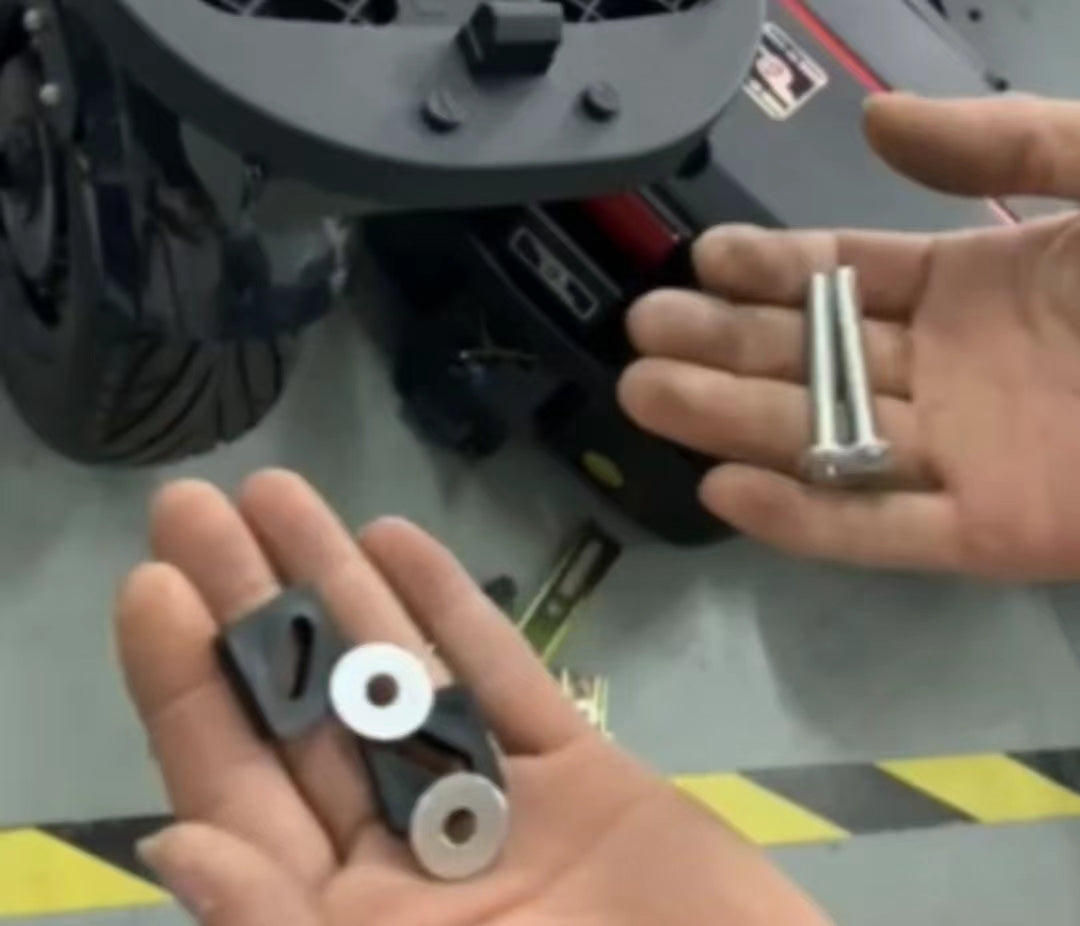
- Check the Installation Accessories: Open the tail box packaging and check if all accessories are complete, including screws and mounting brackets.
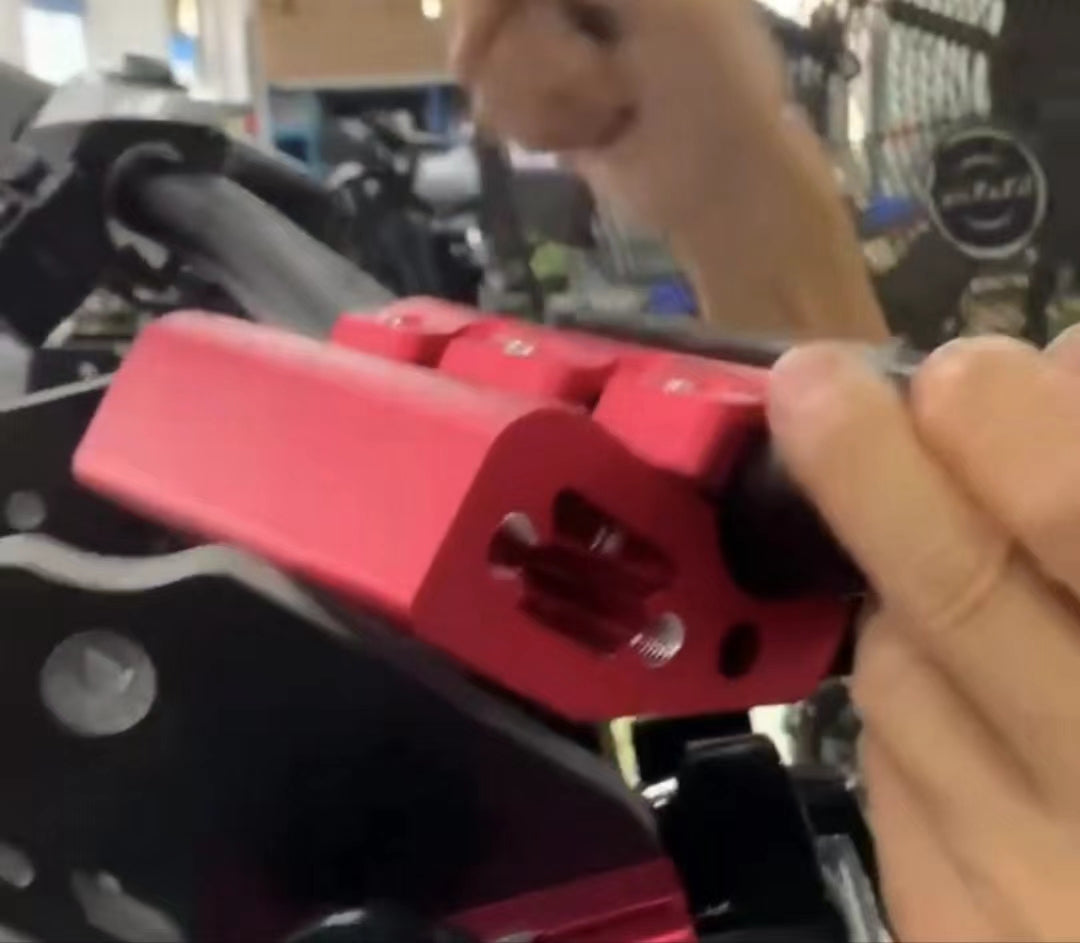
- Install the Bracket: According to the tail box installation instructions, fix the mounting bracket to the rear of the electric motorcycle. Ensure the bracket is securely installed and not loose.
- Secure the Tail Box: Place the tail box on the mounting bracket and secure it with screws. Ensure all screws are tightened so that the tail box does not wobble.
- Check Stability: After installation, gently shake the tail box to ensure its stability. If you find any looseness, check and tighten all screws again.
- Test Ride: After installation, take a short test ride to ensure the tail box does not affect the balance and safety of your ride.
Tips for Installing a Tail Box
- Avoid Overloading: Tail boxes have a weight limit, so avoid placing too heavy items to ensure riding safety.
- Regular Inspection: Regularly check the screws and brackets of the tail box to ensure they are always in good condition.
- Anti-theft Measures: If you need to park your electric motorcycle for an extended period, consider adding a lock to the tail box to enhance security.
Conclusion
Installing a tail box is an important step in enhancing the utility of your electric motorcycle. By choosing the right tail box and following the correct installation steps, you can enjoy a more convenient and safer riding experience. We hope this installation guide is helpful to you. If you have any questions or need further assistance, please feel free to contact our customer service team.
Installing a tail box on an electric motorcycle not only increases storage space but also improves daily convenience. By following the above steps, you can easily complete the installation and enjoy a more comfortable riding experience. Happy riding!


Leave a comment
All comments are moderated before being published.
This site is protected by hCaptcha and the hCaptcha Privacy Policy and Terms of Service apply.